British Motorcar Restoration and Repair Since 1992
About
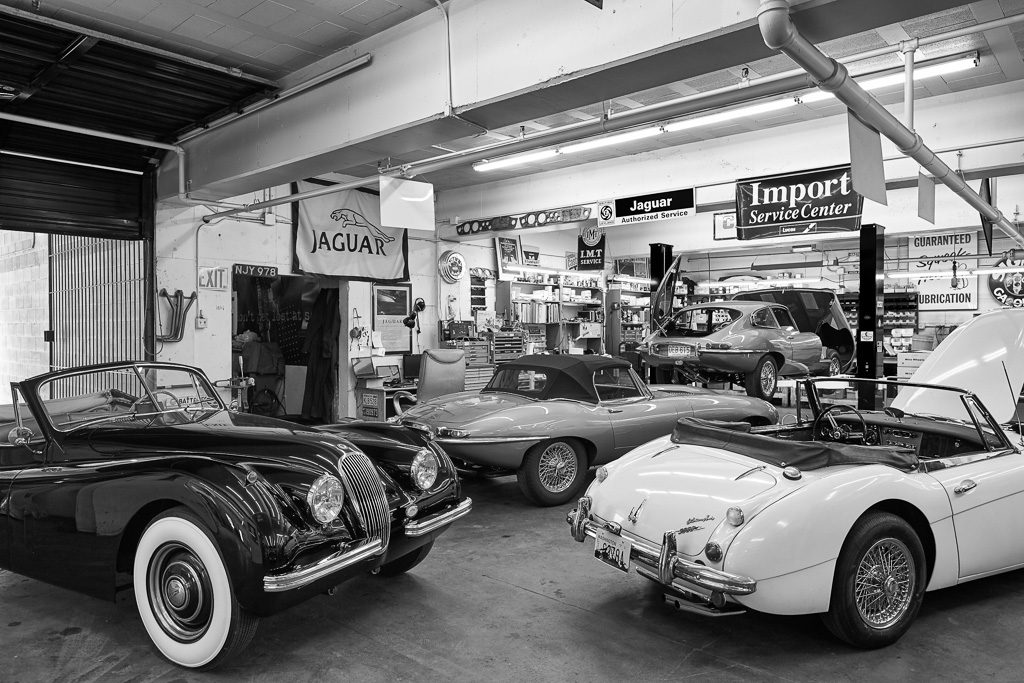
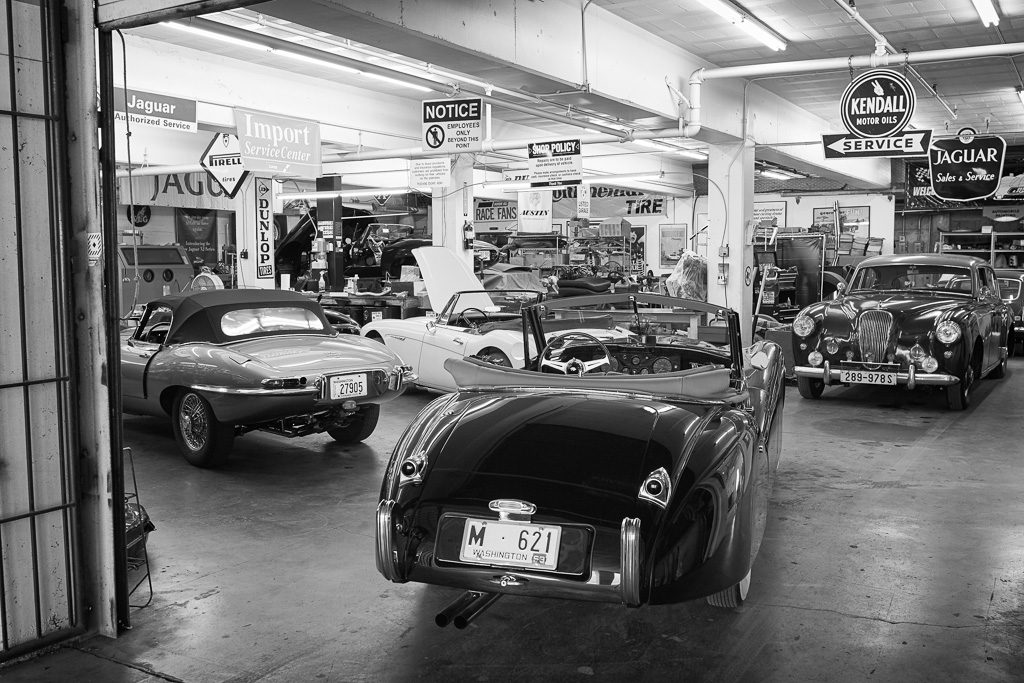
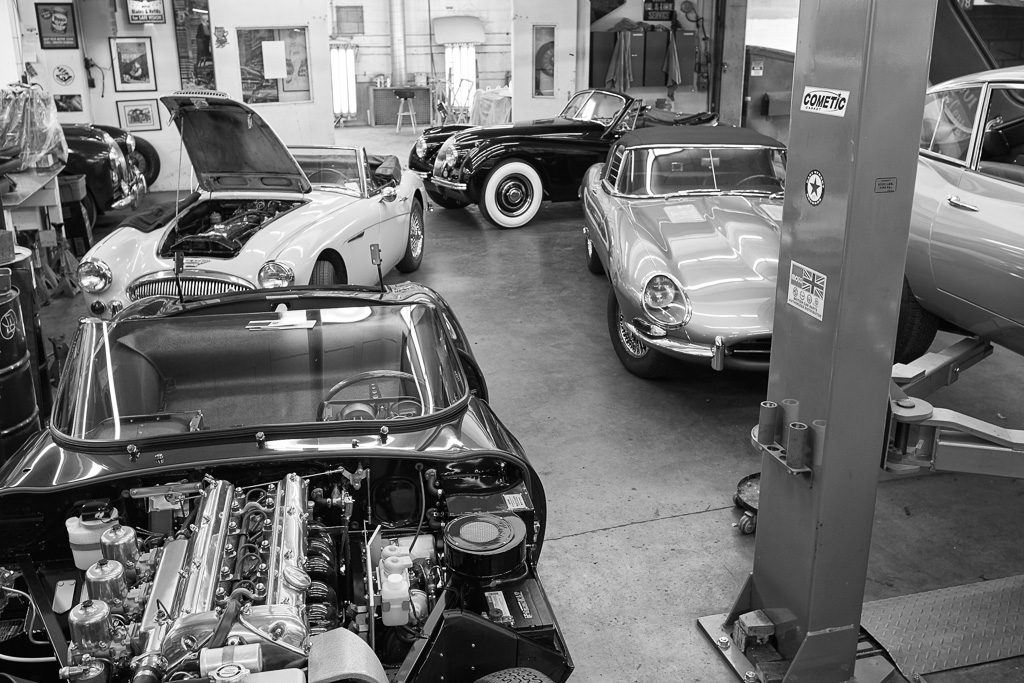
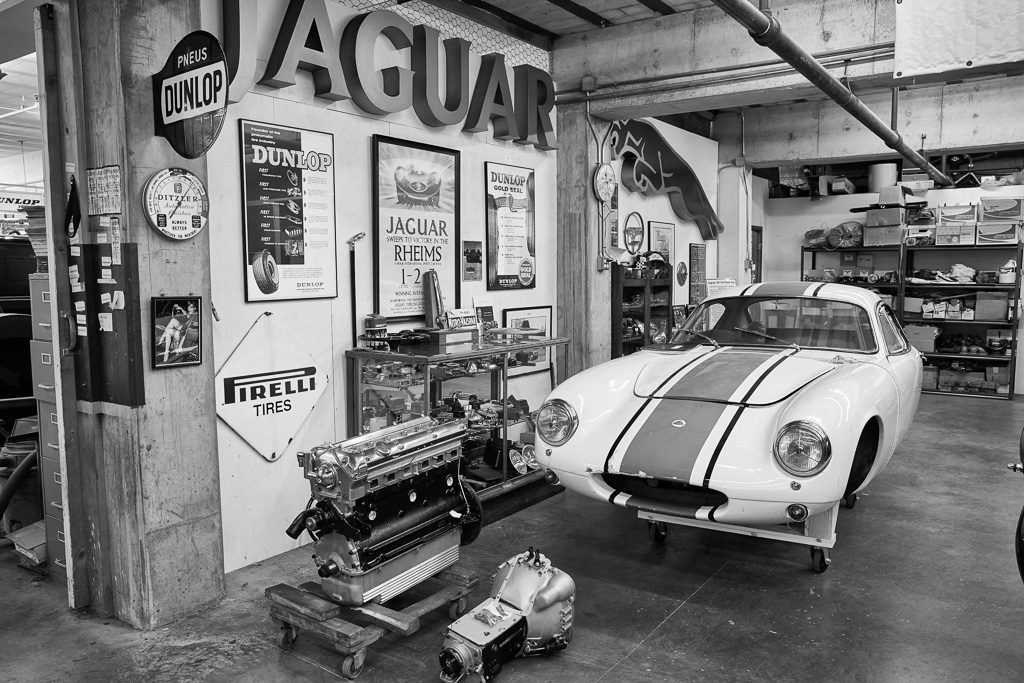
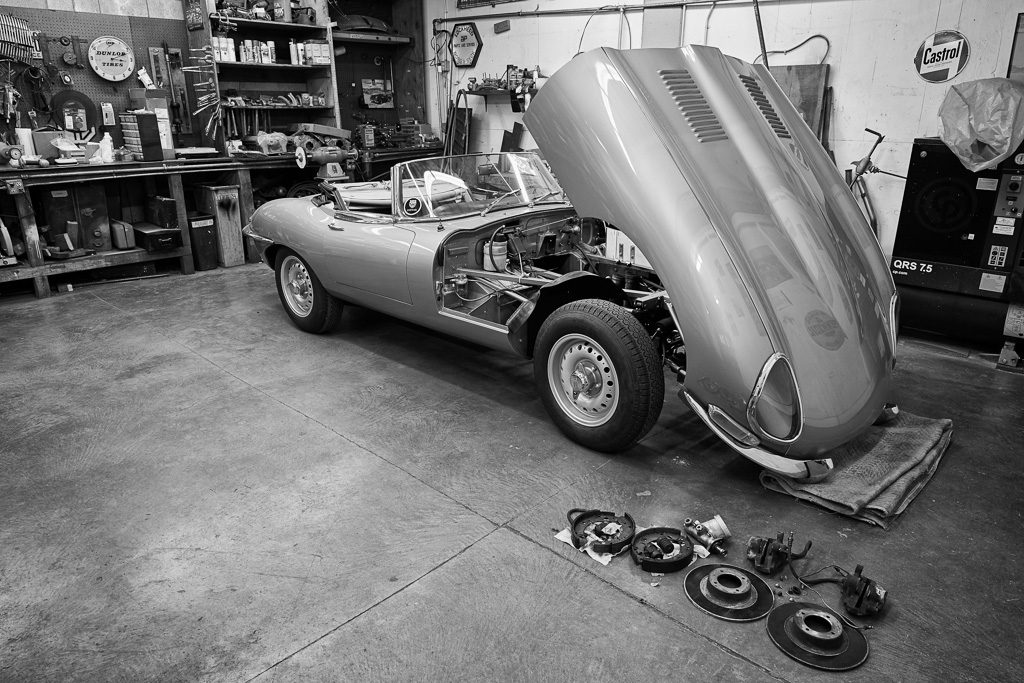
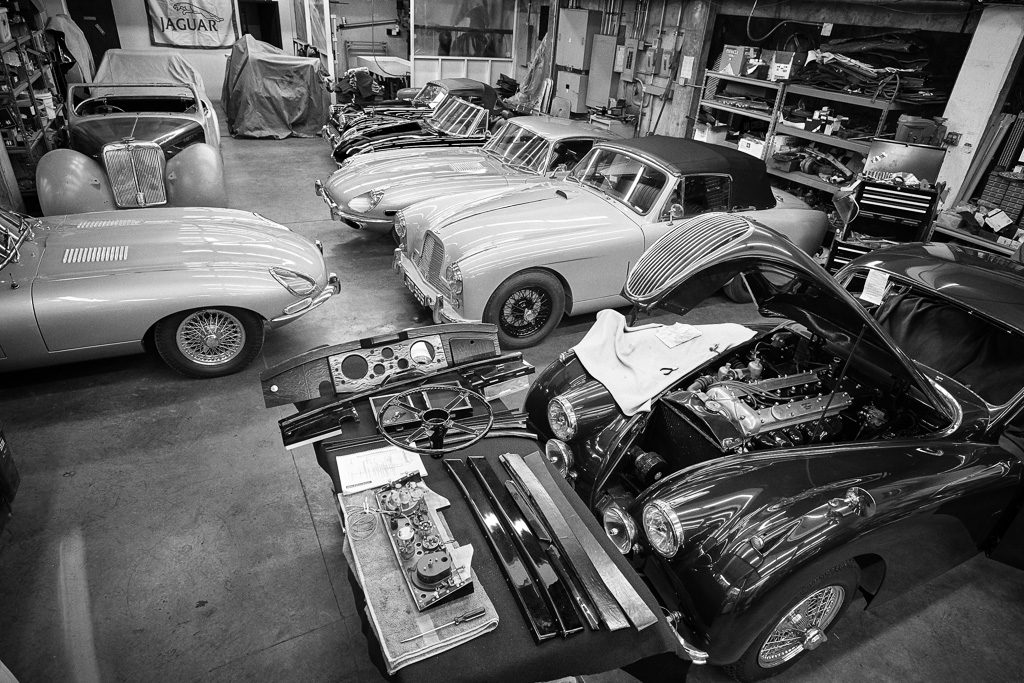
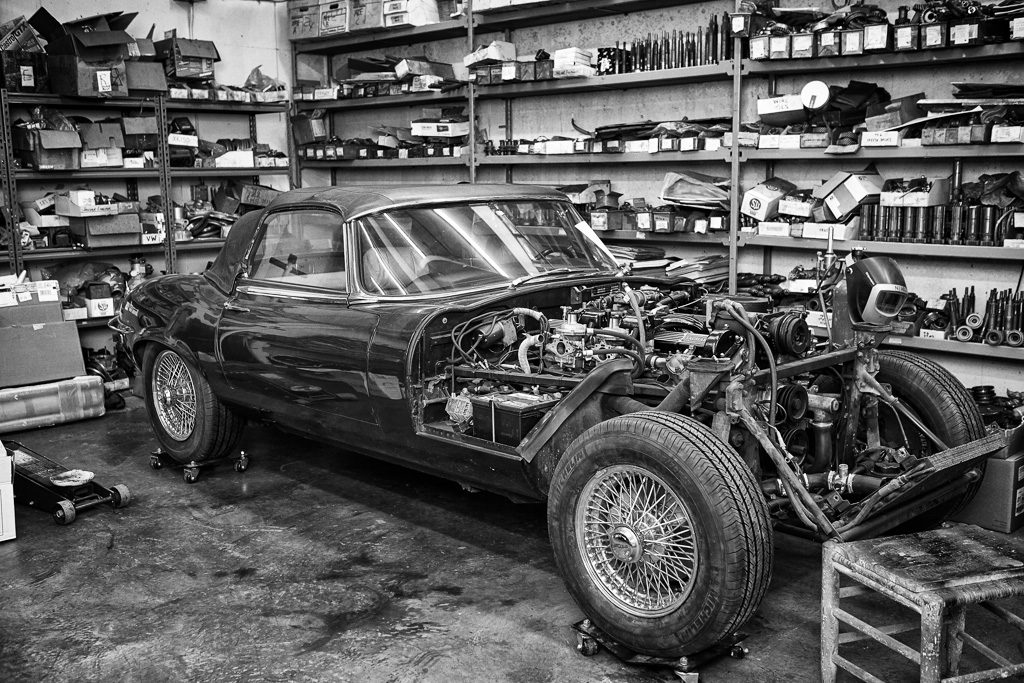
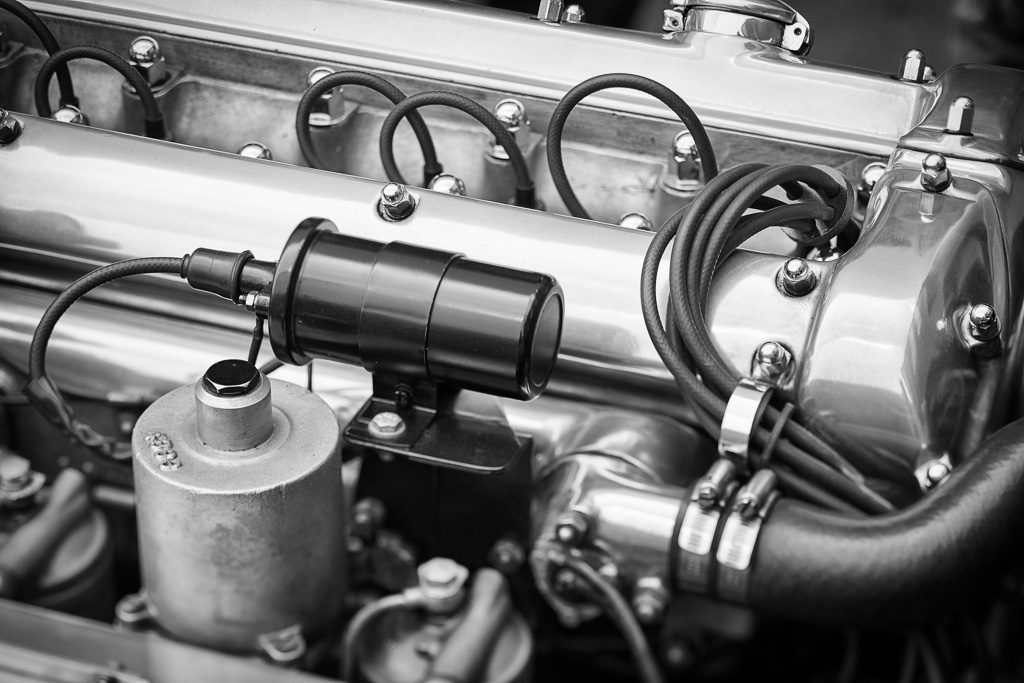
Shop Tour
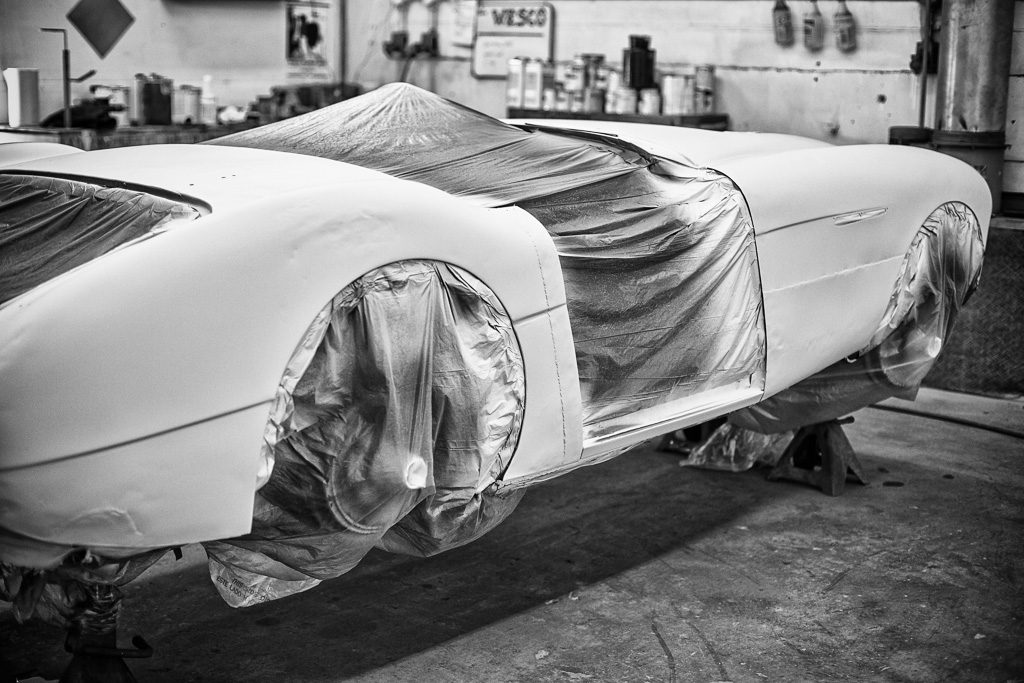
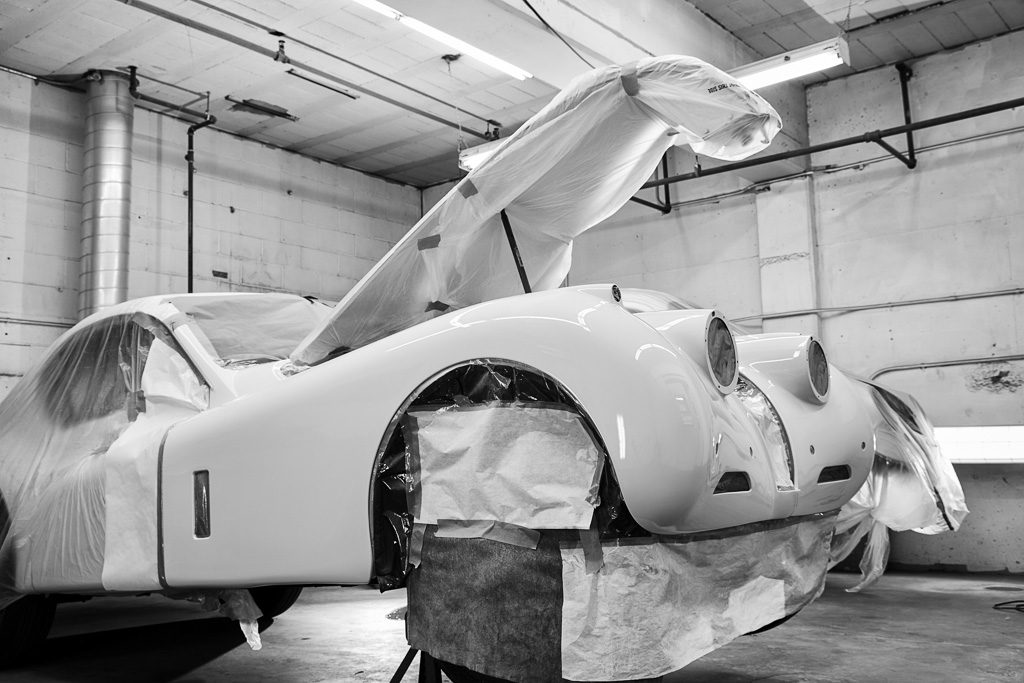
Body & Paint
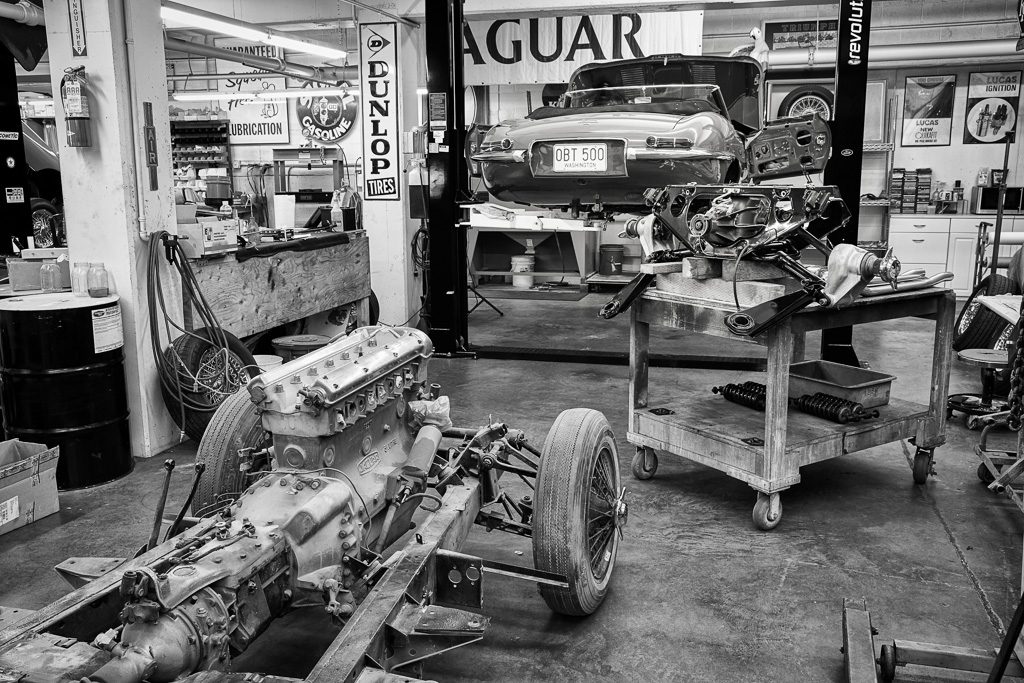
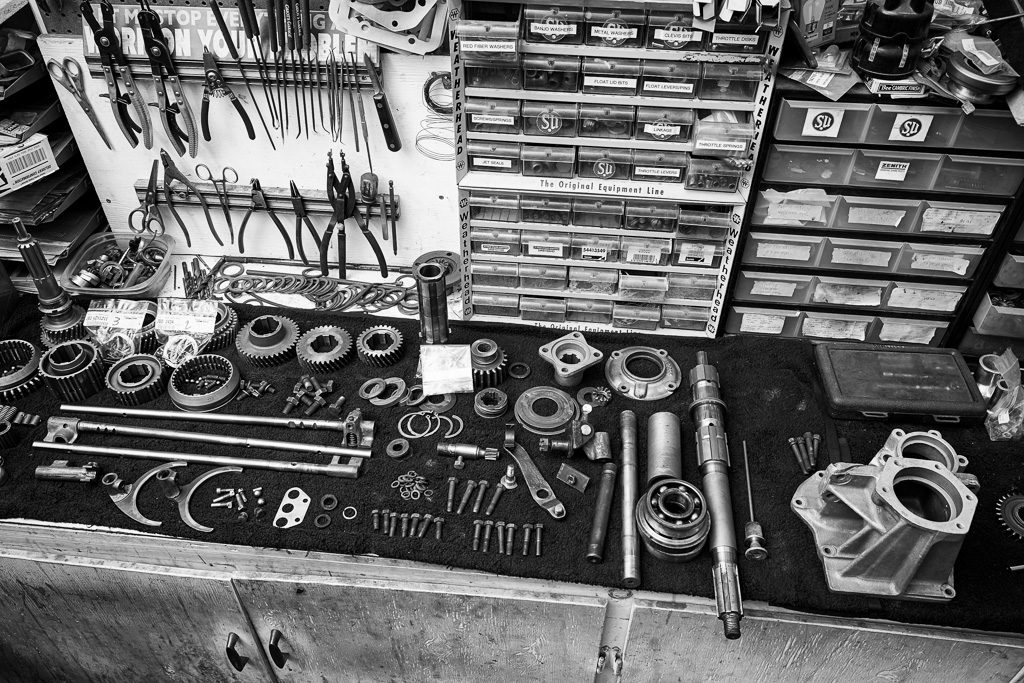
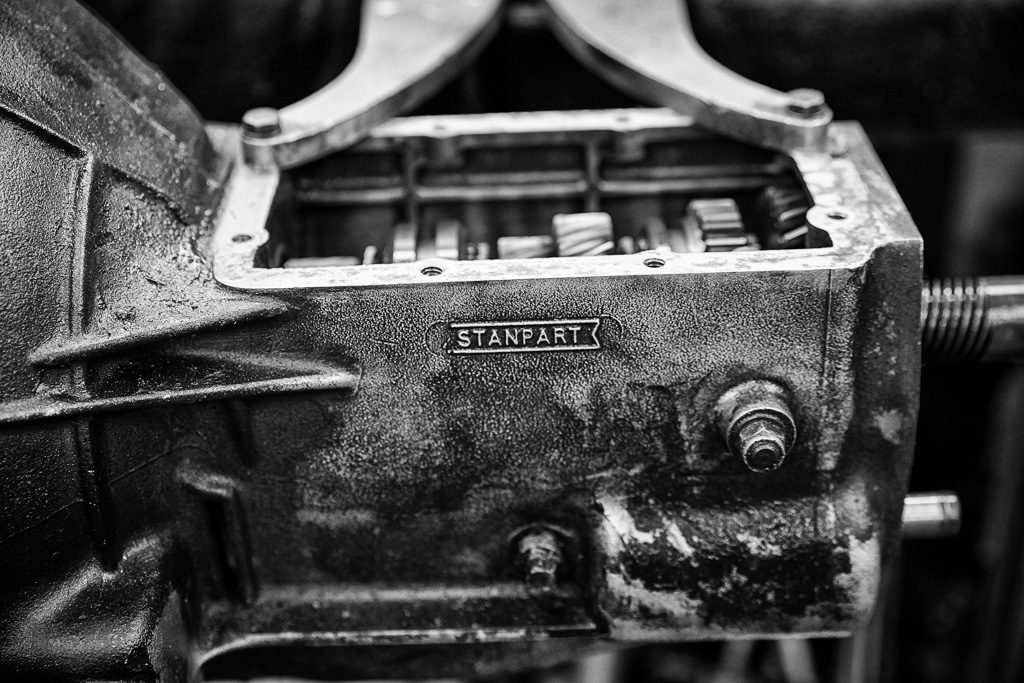
Gearbox & Component Rebuilding
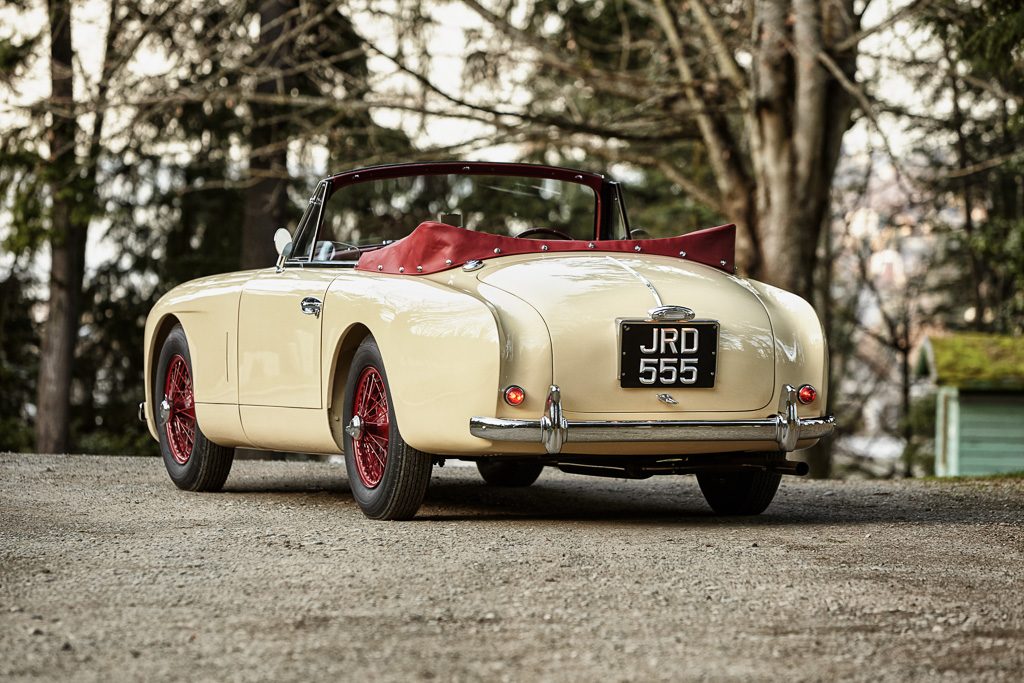
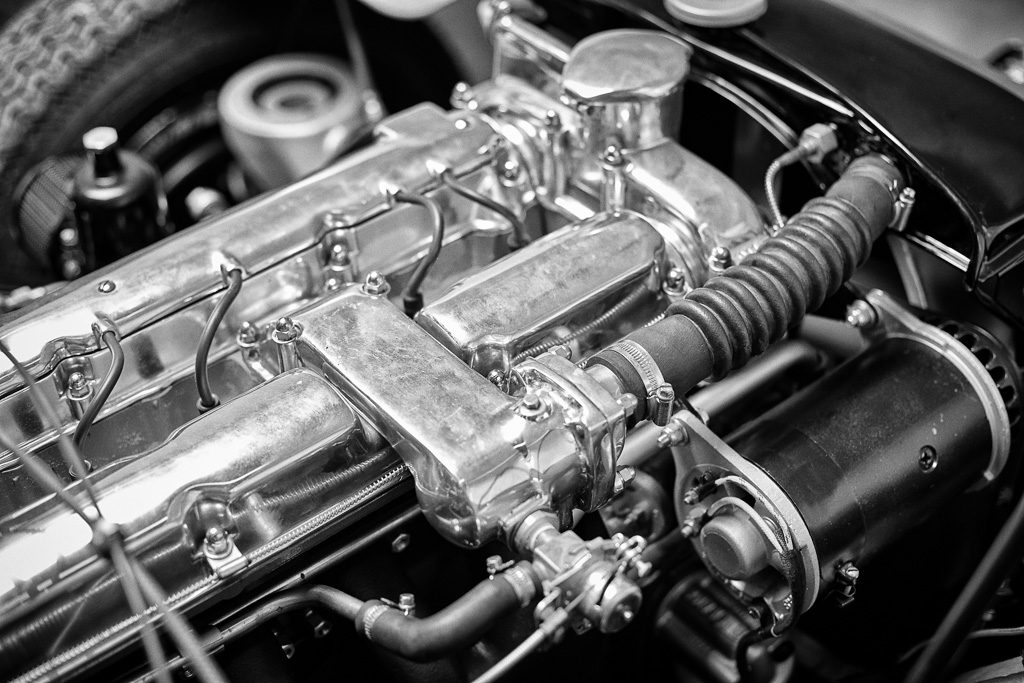
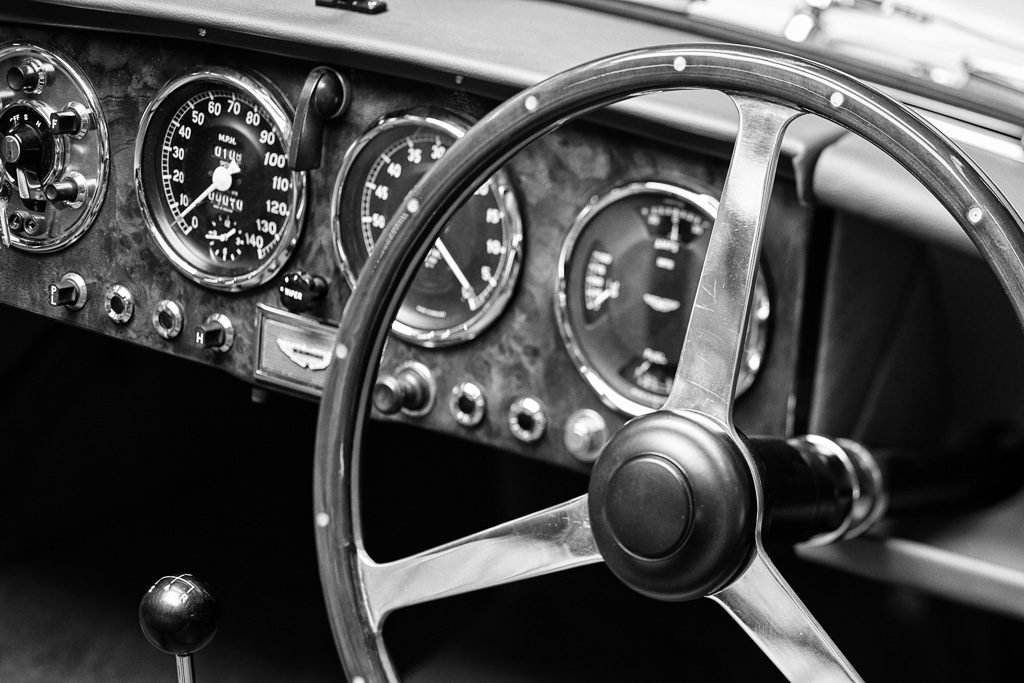
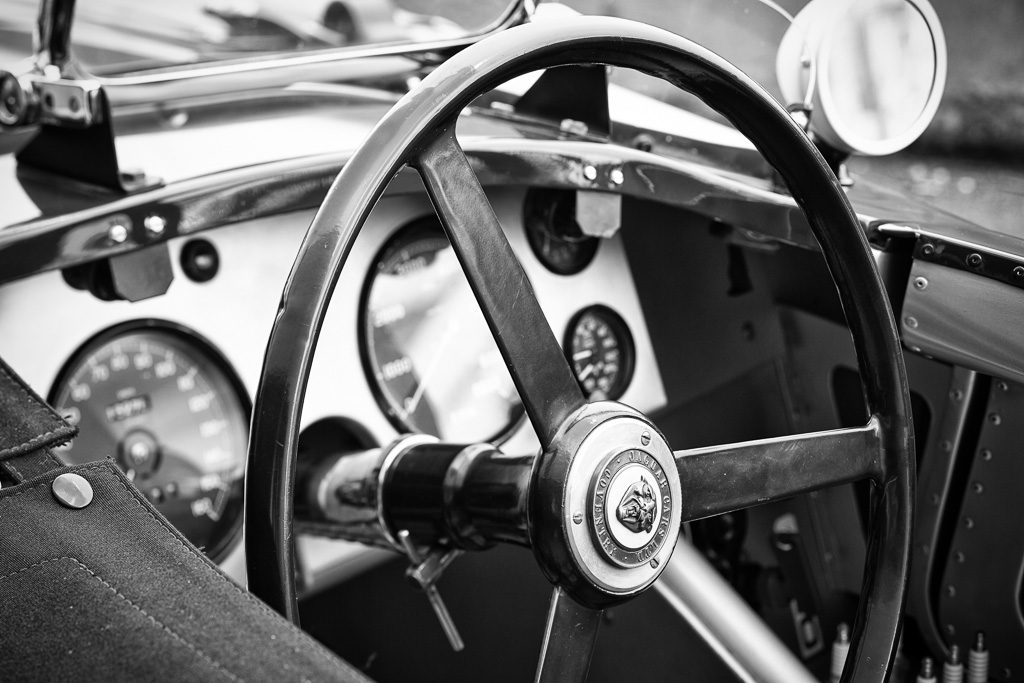
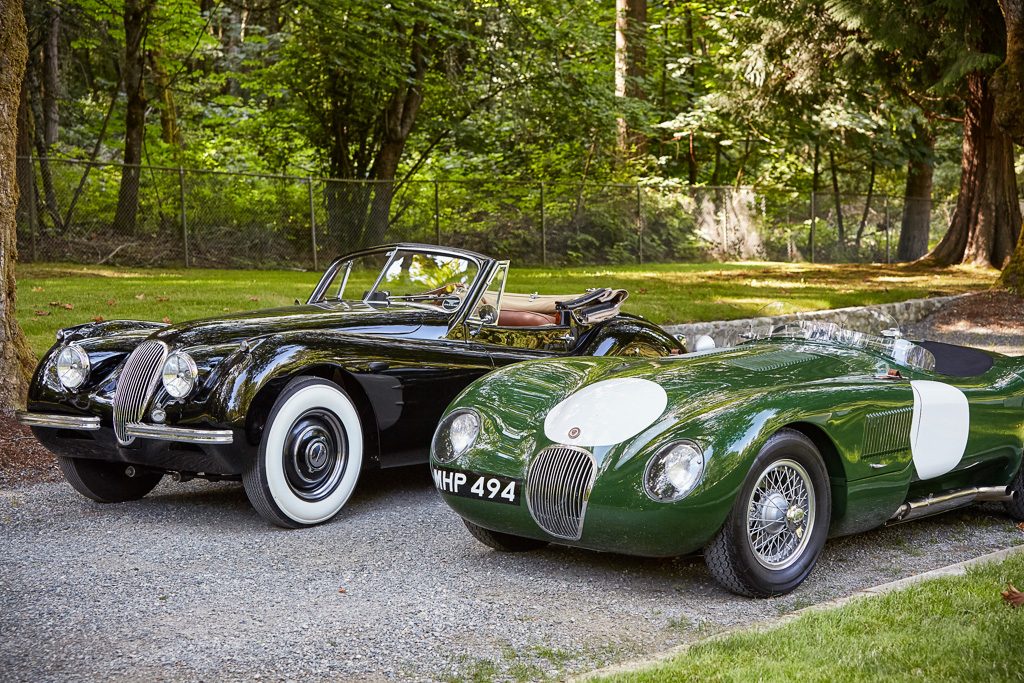
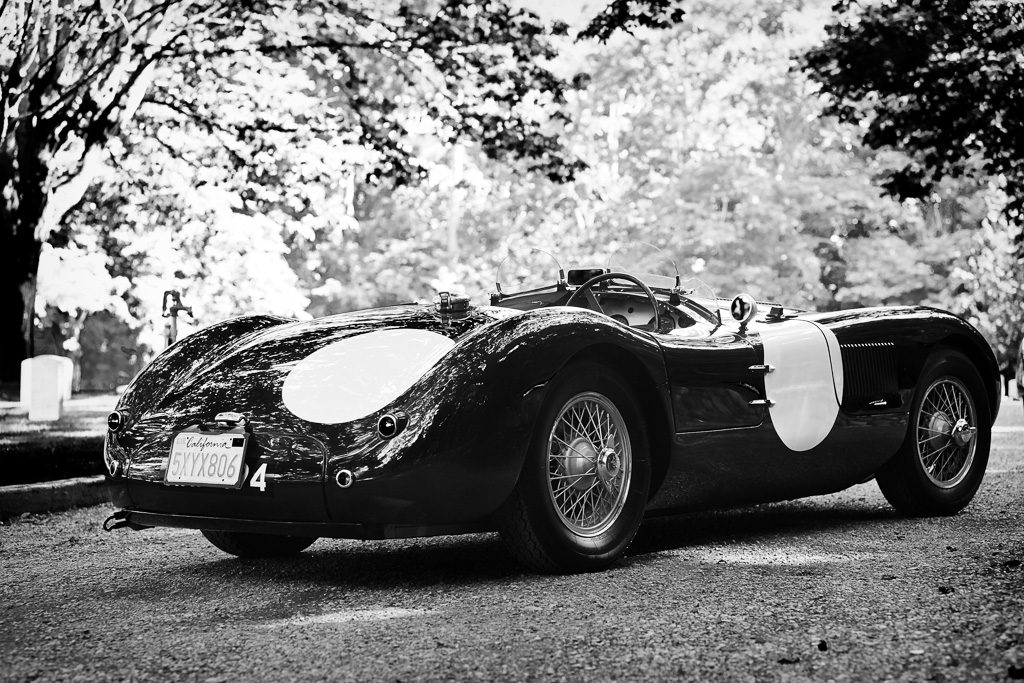
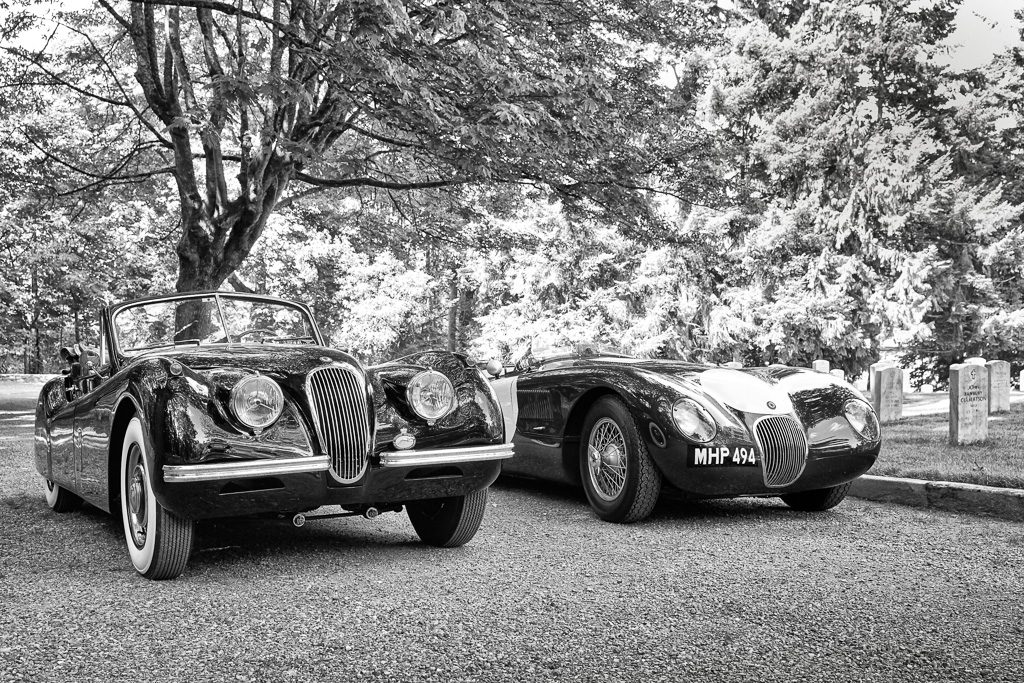
Eye Candy
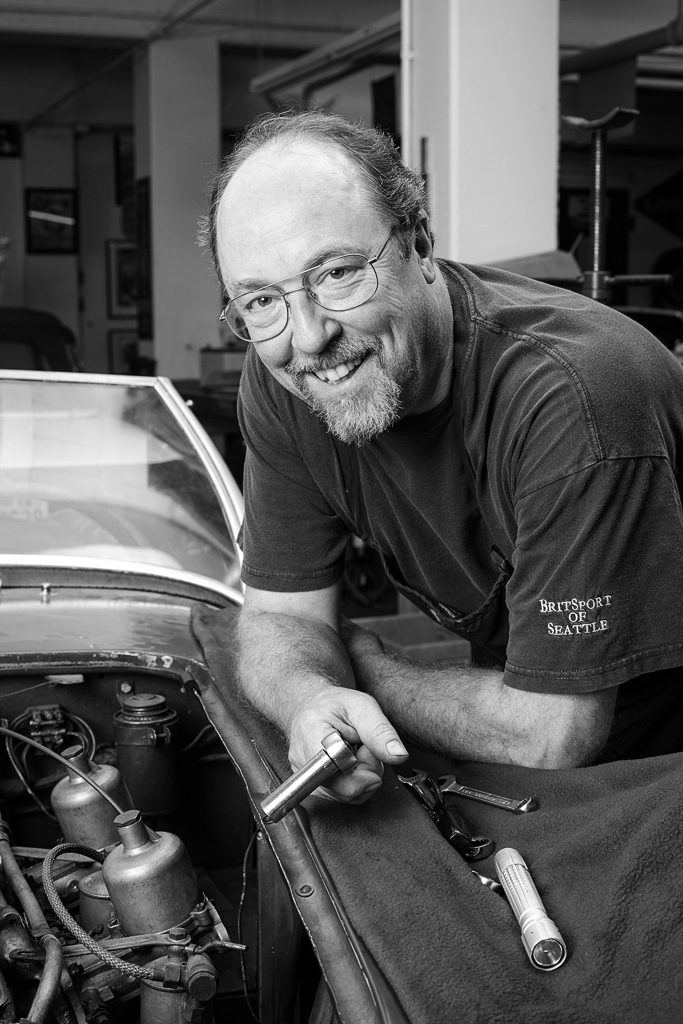
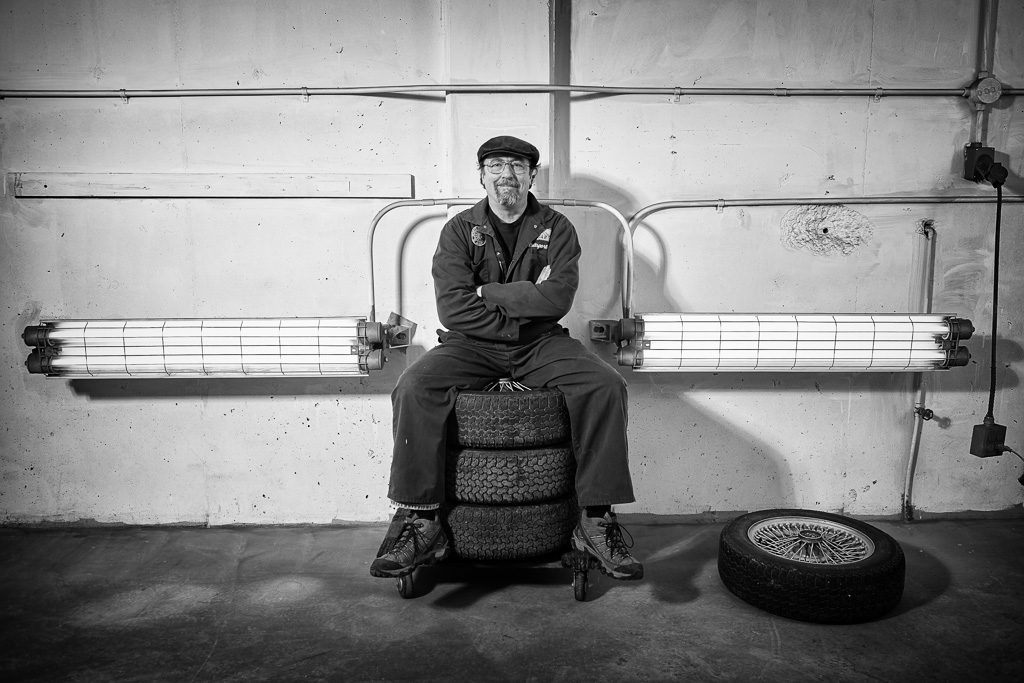
The Proprietor